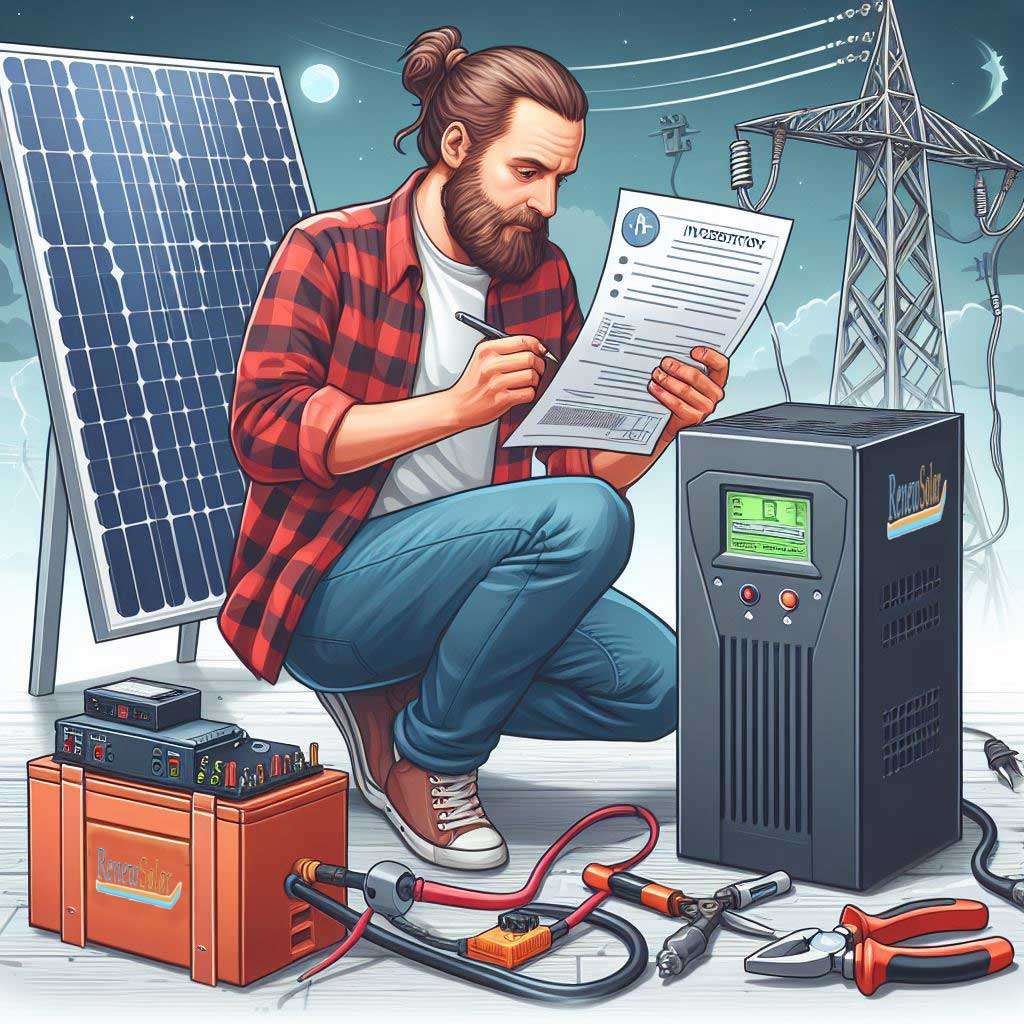
If you want to put out feelers for solar and give it a test run we offer two options
Rental – rent a kit for a week and see how you go, if you like it you can buy it.
Low cost budget solar – super low price kit, lets take a look at this in some more detail.
Budget Solar –
People who want to test out solar usually have a budget in mind, the cheapest way to make something work with solar, so here is your chance and I have organised them into groups.
Freezer/ workshop:
For those who have a garage freezer, lets take this cost away from you for as little as possible.
Firstly a freezer has a running power consumption of around 200 watts but it has a start up current between 1200 and 1500watts which occurs when the compressor starts up. the same occurs with many work shop tools with motors. here is the basic kits and price points.
Packages:
Standard : 820watts of solar, charge controller, 1500w solar inverter 2x 12v batteries 150ah (lead acid) cables and switches, and panel mounting kit £777.00
Budget: 750 solar, 1500w inverter, 2 150ah battery pv cables, £416.00
Plus: 1.23kw of solar with mounting kit, LFP battery pack, consumer unit, cables and switches £1125.00
Each of the price points comes with a different inverter, they are all pure sine wave which will stop buzzing and take away problems that other types of inverters can have, MSW wont work with some tool battery chargers. Budget and standard come with a PWM charger, these are low cost and are not great, but will charge the battery. the plus has a MPPT tracker which boosts the current when charging the battery.
Cables included are 5 meters of PV cable, which are terminated for you, this is usually the right amount of cable, so check if this is right and if you need different lengths contact us before hand.
The kits are supplied with DC isolators, this makes connecting panels to controllers less of a risk as you can turn things off.
The AC out on the standard unit and budget unit is a plug socket. the plus is cabled to a consumer unit with RCD and breakers.
Battery cables and a link cable is provided. you simply connect the positive and negative of the two batteries to connect the battery together making it 24v and the other poles on the battery to the inverter, as well as the charge controller. The Plus has a battery port and separate PV ports.
The solar kit will come with two rails that you will clamp the panels to, you can mount the panels with the brackets provided, to a garage roof, a wall, or stand them up, its up to you and the space you have.
Note that the width will be up to 3.3 meters and height 1.78 meters.
If you are not great with electrical work, then the plus will probably be the better option.
There is less wiring to undertake and the package is part wired so requires minimal work.

While there is AC in we don’t recommend that you use this feature on the plus system.
Lay the rails on the ground and place the panels on top, clamp the panels down. Lift the panels up and clip together the panels wiring, adding the extension PV cables to the end panels ( the plus and minus).
the cables them go to the isolator.
the weight of the assembly is around 65kg so you may want some help.
Connect the Isolator cables (pre fitted) to the inverter controller (red to the plus) and then remove the cover and fix the isolator to the wall and connect the PV cable ends to the plugs.
DO NOT TURN ON.
Place the battery near to the inverter using the cables provided as a measure.
Connect the two batteries together with the short cable, the plus of one battery to the negative of the other. You will then have a + and – which you connect the big cables to, the pins go into the bottom of the inverter.
DO not over tighten the terminals, and make sure they are tight.
Using the white cable from the bottom of consumer unit, wire this to the bottom of the inverter ( AC OUT), Brown to L and Blue to N, the Ring terminal is attached to the earth screw under the unit. Open the unit and screw this to the wall.
We have NOT attached your wiring, sockets would be on the 20 amp breaker and lights on the 6 amp.
Ensure that you have your own socket and cable which should be connected correctly in the consumer unit.
You are now able to turn on the inverter, you should see the screen light up, the inverter may go off if the mode is not correct – see manual.
The inverter will automatically switch on the DC/PV charging without the inverter turned on.
Turn on the DC isolator of the PV and the unit will turn on and begin charging after the self test and readying.
DO NOT Start the inverter without the battery connected first, Do not disconnect the battery when the unit is working.
Install in a clean dry space that stays cool.
Install a earth to the screw under the inverter and bond to metal.
Check all connections after installation.
DO not install if you do not know what you are doing call out a professional.

No responses yet