For most people knowing they have a solar panel fault can be difficult to detect.
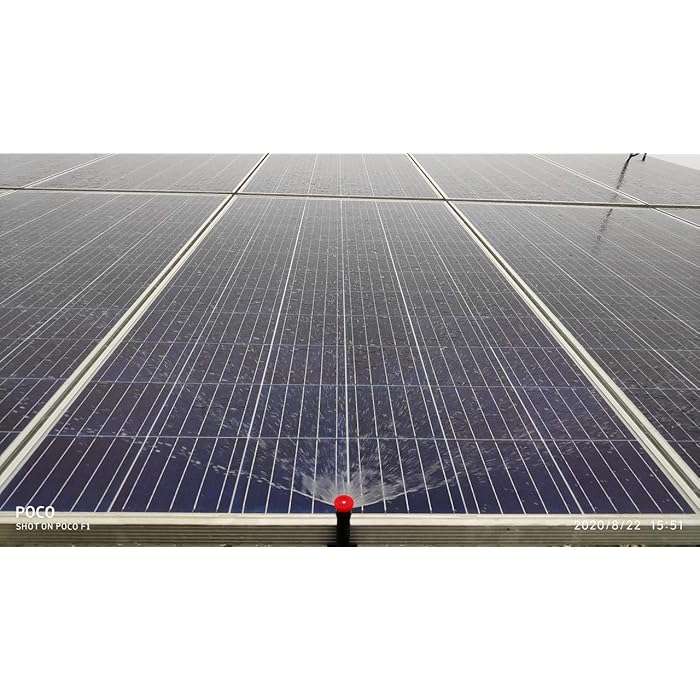
Generally you will notice either a voltage drop or current drop, but mostly people will notice a power output drop. With that said dirt can build a thin film over the panels, which may look okay, but you still have a power drop, usually around 20%.
Solar panels are made of groups of cells that are connected with diodes. Diodes allow current to flow one way and are used to stop panels or groups of cells within the back feeding. Each cell provides voltage and from each group you have current. – Current plus voltage = watts.
Older panels can be single string rather than groups, the next generation is a solar panel in a group of three and then there are newer panels that are generally two groups of three, with what are called split cell panels.
The newer type are two smaller sets of 3 strings that are paralleled together these can have 3 diodes. which is the same are the older generation. The difference is that the parallel sets do not need to have a diode.

In this image we see the blue diodes and the yellow are the parallel sets.
A common fault is the diodes.
The diode fault can be seen in winter mornings as the frost melts off the panels. This is due to a hotspot, the diode junction box may melt the frost in many cases. You can also detect defective cells in the same way.
To test the diode, you can use a multi meter and set it to diode testing ( triangle with a line) the meter should only work one way. If it works both ways, then the diode is faulty and need replacement.
Cell faults and bus bars.
Faulty cells are not common, but the bus bar fault is more common.
taking a reading between the diodes should be equal. Therefore you would voltage test the negative output cable to the first diode, then the first diode to the second and then the second to the positive output cable.
If you read a zero voltage on any of the tests, then you will have a cell fault or a bus bar fault.
This is harder to find on split panels as the other side may produce voltage, in this case you should perform a current test and compare this with the other strings in the panel.
You would be looking for dark or brown spots between the cells or on the edge of a cell. cracks in the cells and also remove the panel and take a look on the back. looking for bubbles and discoloration.
Check the main bus bars.
using a torch along the white part of the panel shine the light around the edge and pushing hard on the back follow the bus bar while keeping an eye on the multi meter. You will see a voltage jump or drop when you find the problem.
Note: often the fault could be on the bus bar at the connection to the diode or joins in the bus bars. You wont be able to check this by pressing on the panel.
Fixing the bus bar has to be carried out with care as they can be layered. You can use a pin or needle to heat and melt into the back-sheet and get a reading. you can then bridge the break. Often you will need to make a larger hole using a soldering iron put solder on the bus bar and solder a wire. Ensure that you seal the holes after.
If you have problems other than this, you may need to replace the panel. Remember solar panels can cause a fire and should be repaired and tested under a full load. You need to check for hotspots after as well as use a suitable joint. test the voltages of each string and ensure that you have not created a bridge in the wrong place. Test the currents that they are correct for each string and use cardboard or a arm to cause a change in the output of both to ensure the correct repair.
RenewSolar offers panel repair, testing and replacement services. if your in our area you may want to contact us for help with this problem. We also sell Diodes!

No responses yet