Individuals experiencing winter often wish for increased solar power during the colder months. This usually implies a desire to install additional panels, though there may be uncertainty about the feasibility or advisability of doing so. Let’s examine the distinctions and explore ways to compensate for any hardware limitations.
Dual MPPT (Maximum Power Point Tracking) is a feature commonly found in modern photovoltaic inverters. Let’s explore the benefits of dual MPPT compared to single MPPT:
- System Design Flexibility:
- Dual MPPT allows you to connect arrays with different orientations, tilts, lengths, or modules. This flexibility is especially useful when dealing with complex installations where panels may face different directions or have varying tilt angles.
- With dual MPPT, you can optimize the performance of each string independently, accommodating diverse conditions.
- Cost Savings:
- Dual MPPT reduces the need for combiner fusing. By eliminating the requirement for fuses, you save on installation costs and materials.
- When connecting more than two strings, dual MPPT functionality avoids the need for additional combiner boxes or fusing, resulting in cost savings.
- Higher Energy Harvest:
- Dual MPPTs maximize energy extraction from the connected solar module arrays. Each channel adapts to the specific conditions of its associated string, ensuring optimal power output.
- The ability to handle dissimilar modules and varying string lengths without fusing allows for more efficient energy harvesting.
In summary, dual MPPT inverters offer significant advantages in terms of system design flexibility, cost-effectiveness, and overall energy production. They are particularly beneficial when dealing with multiple strings or complex solar installations.
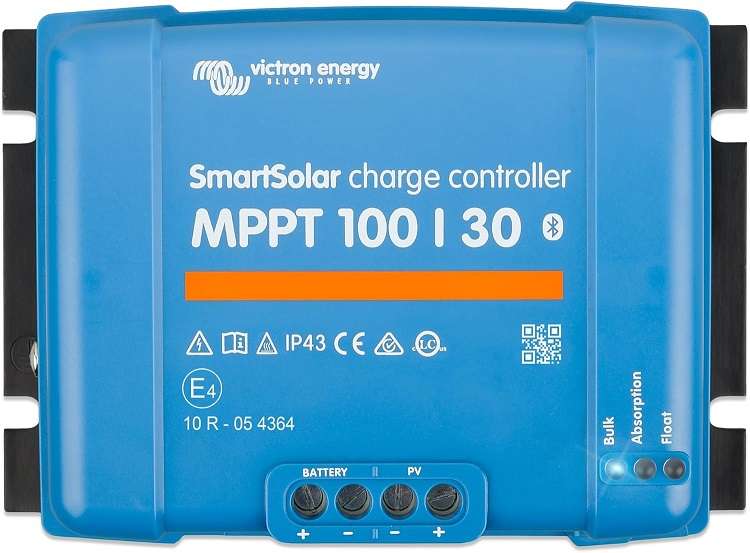
Let’s delve into the pros and cons of using a hybrid inverter with an attached battery alongside a standalone charge controller for an additional solar array:
- Hybrid Inverter with Built-in Charge Controller:
- Pros:
- Integrated Solution: A hybrid inverter combines the functionalities of an inverter, charge controller, and battery charger. It streamlines your system by handling both solar panels and battery charging.
- Comprehensive Energy Management: It optimizes energy flow from multiple sources (solar panels, batteries, and grid/generator) efficiently.
- Space-Saving: Combining components reduces physical space requirements.
- Cost-Effective: Built-in charge controllers are often more cost-effective than separate components.
- Cons:
- Limited Scalability: Upgrading or expanding the system may be challenging. If you plan to add more solar panels or batteries in the future, this limitation could impact your system’s flexibility.
- Single Point of Failure: If the hybrid inverter fails, it affects both inverter and charge controller functions.
- Pros:
- Standalone Charge Controller with Hybrid Inverter and Battery:
- Pros:
- Scalability: Easier to upgrade individual components. You can add more solar panels or batteries without replacing the entire system.
- Independent Optimization: Separate charge controllers allow you to fine-tune each solar array independently. This is beneficial when arrays have different orientations, tilt angles, or varying conditions.
- Efficiency: External charge controllers can optimize charging efficiency, especially if the solar panels are far from the inverter or if you’re using specific panel types.
- Cons:
- Additional Components: Requires an extra charge controller, which increases installation complexity and costs.
- Space Considerations: Separate components may occupy more physical space.
- Wiring Complexity: Managing connections between the inverter, battery, and charge controller can be intricate.
- Pros:
In Summary:
- Hybrid Inverter with Built-in Charge Controller: Convenient, cost-effective, and space-saving, but less scalable.
- Standalone Charge Controller: Offers scalability, independent optimization, and potential efficiency gains, but requires additional components.
Consider your specific needs, system size, and future expansion plans when making your decision. Both options have merits, so choose based on what aligns best with your requirements and preferences.
The Winter Solar array
Adding a solar array specifically for winter can offer several benefits. Let’s explore them:
- Increased Energy Production:
- While winter days are shorter, solar panels can still generate electricity even with reduced sunlight exposure.
- Cold temperatures can actually enhance the efficiency of solar panels due to their semiconductor nature. Solar cells operate more efficiently in colder weather1.
- Reflection from Snow:
- Snow-covered ground reflects sunlight back toward the panels, potentially increasing their output.
- Research has shown that solar arrays can successfully generate electricity during snowy times2.
- Battery Integration:
- Adding a winter array can boost the charge of the battery and yield.
- Reduced Reliance on Conventional Power Sources:
- A well-designed solar array can significantly reduce your reliance on grid electricity during winter months.
- This translates to lower energy bills and a smaller environmental footprint.
- Energy Independence:
- Having an additional solar array allows you to generate more of your own electricity, promoting self-sufficiency.
- During winter, when energy demand is higher, this independence becomes especially valuable.
- Environmental Benefits:
- Solar energy is clean and renewable, reducing greenhouse gas emissions.
- By utilizing solar panels in winter, you contribute to a more sustainable energy system.
In summary, adding a solar array for winter can enhance energy production, provide backup power, and contribute to a greener future. Consider the unique challenges of winter and optimize your system accordingly to maximize its benefits.
The Split Solar Arrays Performance.
Let’s explore the differences between winter and summer array alignments:
- Summer Array Alignment:
- During summer, the sun is higher in the sky, resulting in more direct sunlight.
- Optimal tilt angle: To maximize power output during summer, tilt your solar panels at an angle close to your latitude minus 15°. For example, if your latitude is 38.7°, the summer tilt angle would be approximately 30°.
- Facing the panels directly south ) is ideal for year round solar energy production averaged.
- Winter Array Alignment:
- In winter, the sun’s path is lower, leading to less direct sunlight.
- Optimal tilt angle: To capture more sunlight during winter, increase the tilt angle. Add approximately 10° to your latitude. For instance, if your latitude is 38.7°, the winter tilt angle would be around 48.7°.
- Facing the panels north (in the northern hemisphere) or south (in the southern hemisphere) is recommended for winter energy generation.
- Year-Round Array Alignment:
- To strike a balance between summer and winter performance, consider an average tilt angle.
- Optimal year-round tilt angle: Calculate the average of the summer and winter angles. For our example latitude of 38.7°:
- Summer angle: (0.69 × 38.7°) + 3.7 = 30°
- Winter angle: 38.7° + 10° = 48.7°
- Year-round angle: (30° + 48.7°) / 2 = 39°
You can find our angle and tilt calculations and performance article here.
In summary, adjusting your solar panel tilt angle seasonally optimizes energy production by accounting for the changing position of the sun. Remember that these angles are approximate guidelines, and local conditions may influence the best alignment for your specific location.
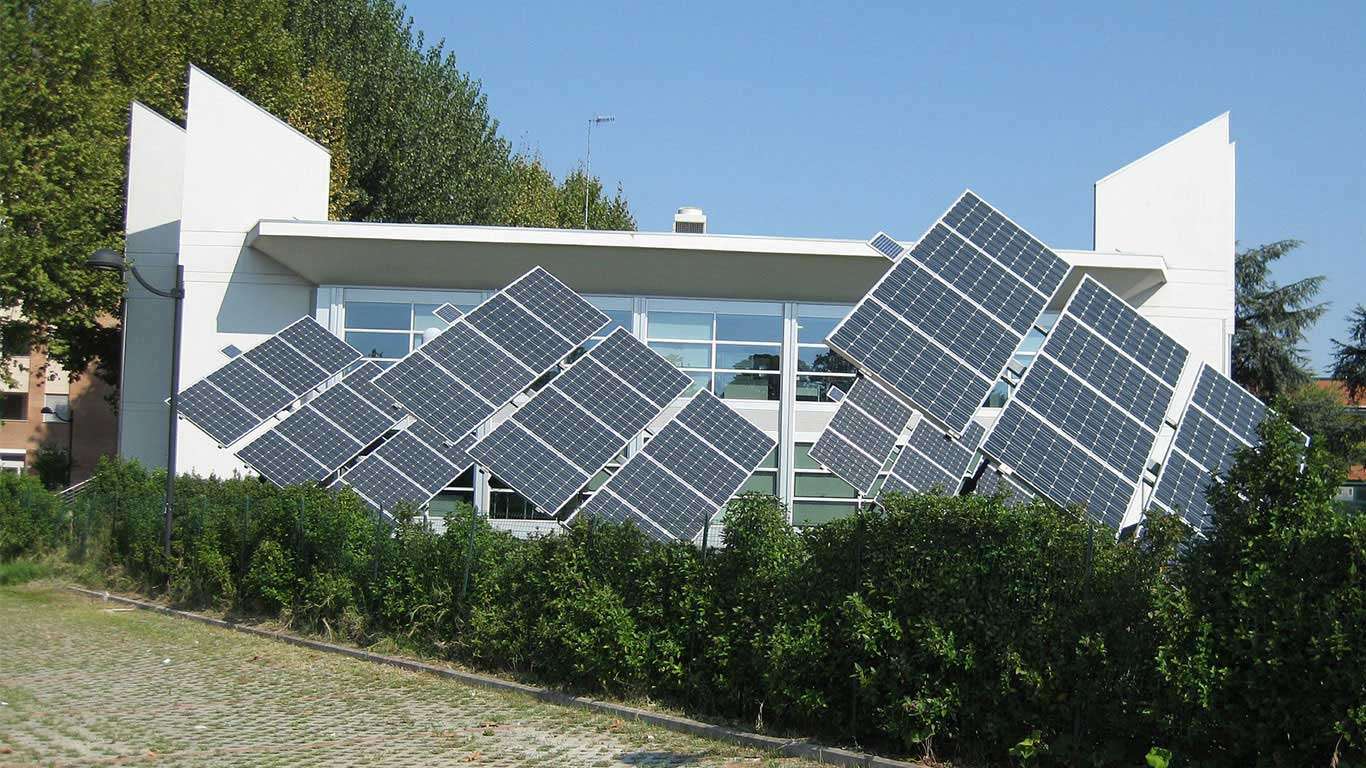
The difference between the summary array (near flat) to the the winter array (near upright) can make a performance difference of around 50%. You may want to consider a solar tracker which will do the work for you and you can make your array smaller. Dual axis tracking arrays will yield around 35% more solar each day over fixed arrays.
Dual Axis Solar tracker
Dual-axis solar trackers offer significant performance gains compared to fixed or single-axis tracking systems. Let’s explore these benefits:
- Increased Energy Production:
- Dual-axis trackers accurately follow the sun’s movement across the sky, ensuring that solar panels are always at a right angle to the energy source.
- Result: Dual-axis trackers can produce 50% to 70% more power than rooftop solar or fixed ground-mount systems and about 20% to 30% more than single-axis trackers1.
- Optimal Sun Exposure:
- By adjusting both tilt and azimuth (orientation), dual-axis trackers capture maximum sunlight throughout the day.
- This is especially advantageous during low-sun-angle periods, such as winter or early morning/evening hours.
- Seasonal Adaptability:
- Dual-axis trackers adapt to changing sun angles during different seasons.
- In winter, when the sun is lower, the tracker tilts more vertically to maximize exposure. In summer, it adjusts for higher sun angles.
- Efficiency Boost:
- Dual-axis trackers enhance energy production by tracking both direct and diffuse sunlight.
- They perform well even on cloudy days or when the sun is not directly overhead.
- Improved ROI:
- While dual-axis trackers are costlier than fixed systems, their increased energy yield justifies the investment.
- The additional power generated translates to faster payback and better return on investment.
- Ideal for Space-Constrained Areas:
- Dual-axis trackers allow you to extract more energy from a limited footprint.
- They are suitable for urban rooftops, small installations, or areas with restricted space.
In summary, dual-axis solar trackers provide superior energy production, adaptability, and efficiency, making them an excellent choice for maximizing solar system performance.
Here at RenewSolar we are looking into cost effective solar tracker options that allow you to fit within PD rules. it is worth noting the rules for standalone solar arrays as many shall find that they cannot install a suitably sized solar tracker array.
In the UK, planning rules for stand-alone solar trackers (panels not on a building but within the grounds of a house or a block of flats) are as follows:
- Permitted Development:
- The first stand-alone solar installation is considered permitted development without requiring planning permission.
- However, any further installations will need planning permission1.
- Height Restrictions:
- Distance from Property Boundary:
- Array Size:
- Special Considerations:
- Panels should not be installed within the boundary of a listed building or a scheduled monument.
- If your property is in a World Heritage Site, no part of the solar installation should be nearer to any highway bounding the house than the part of the house that is nearest to that highway1.
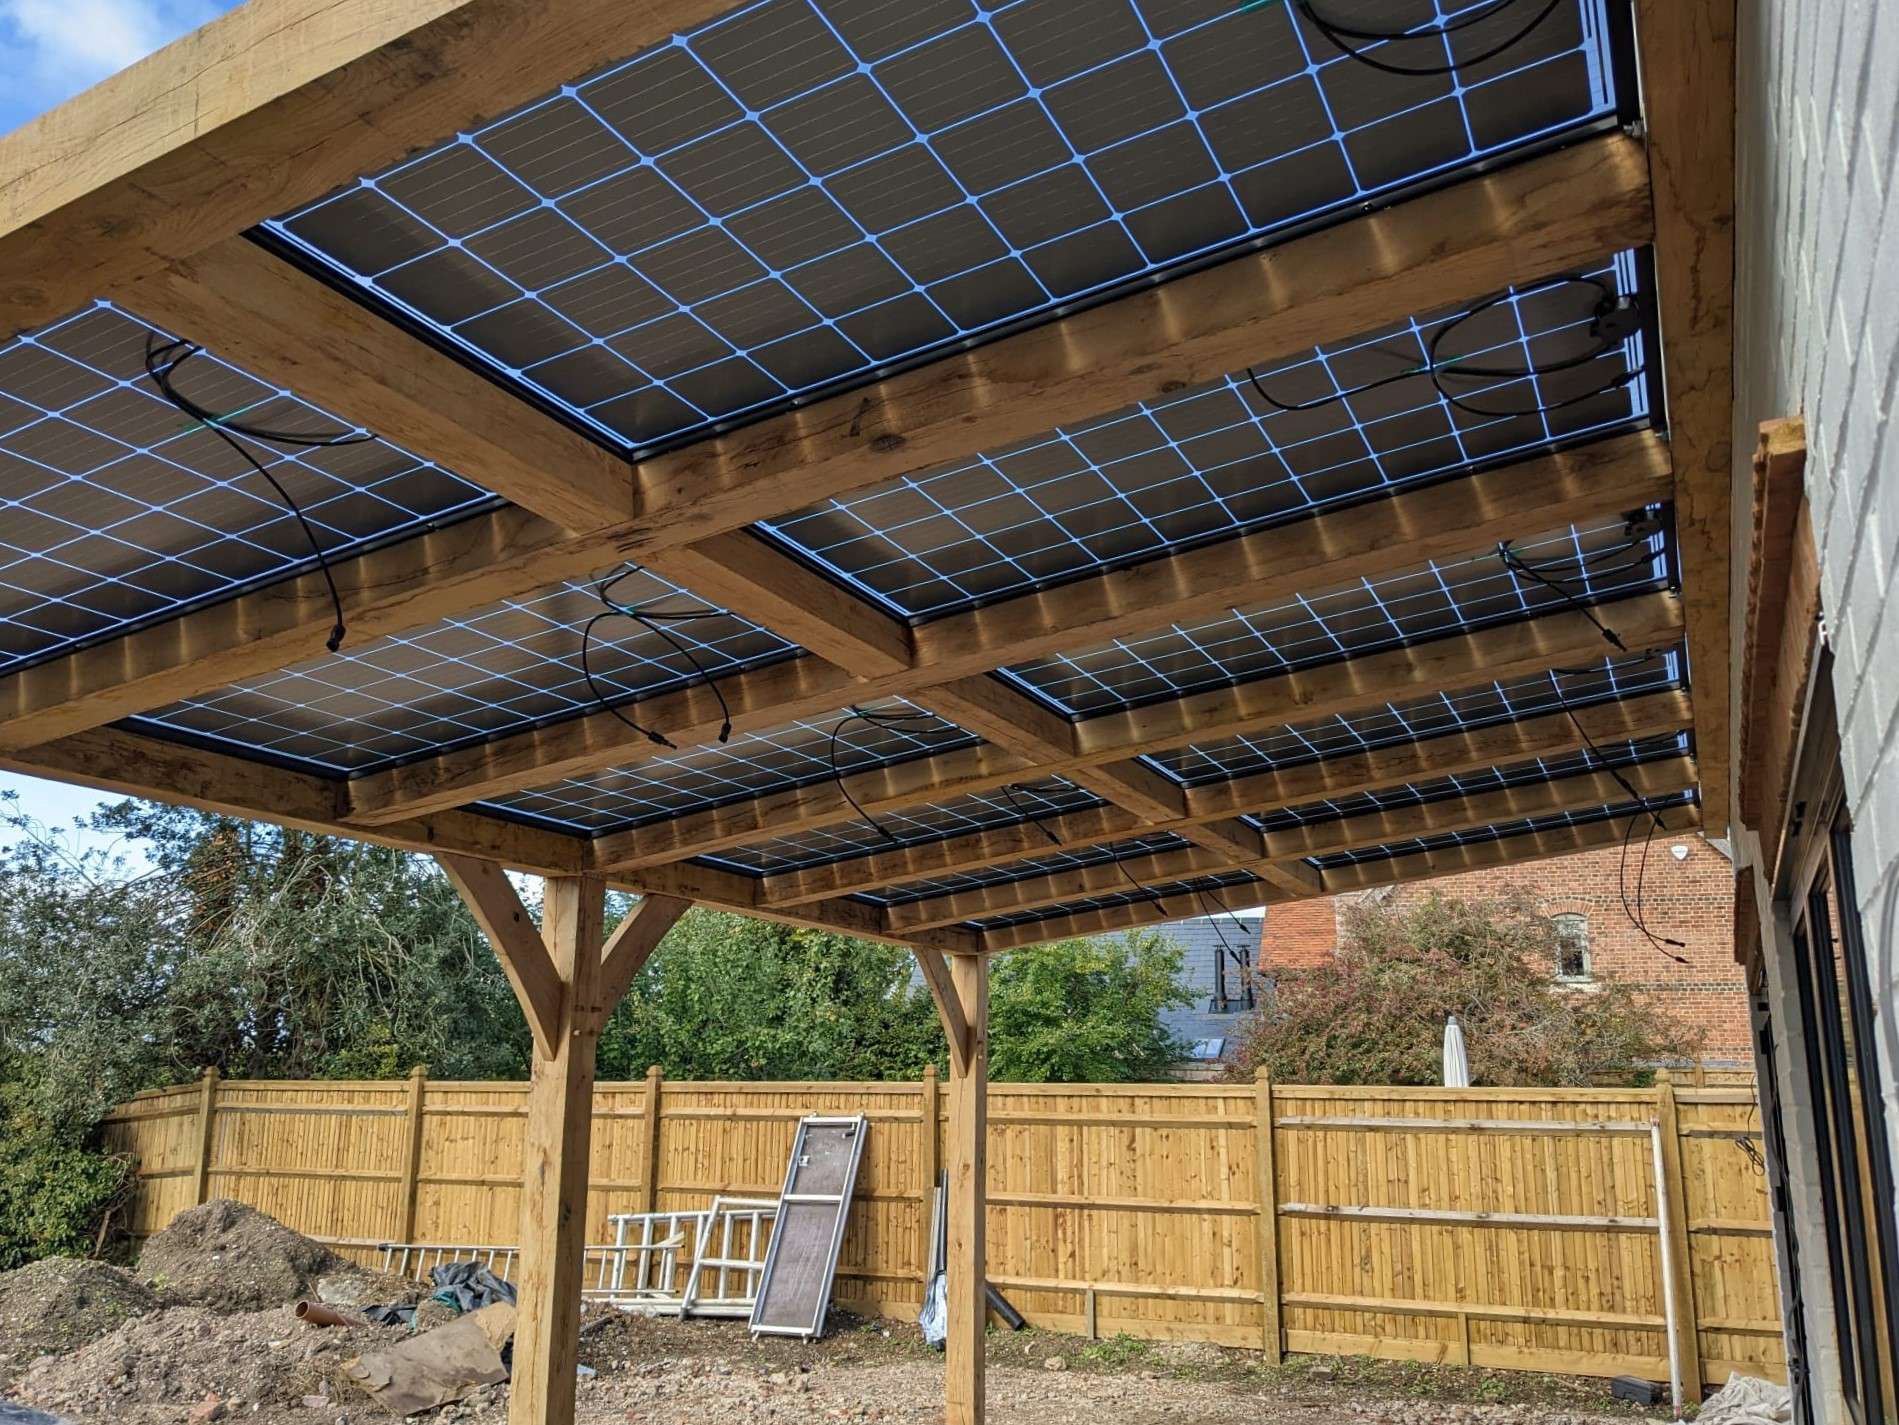
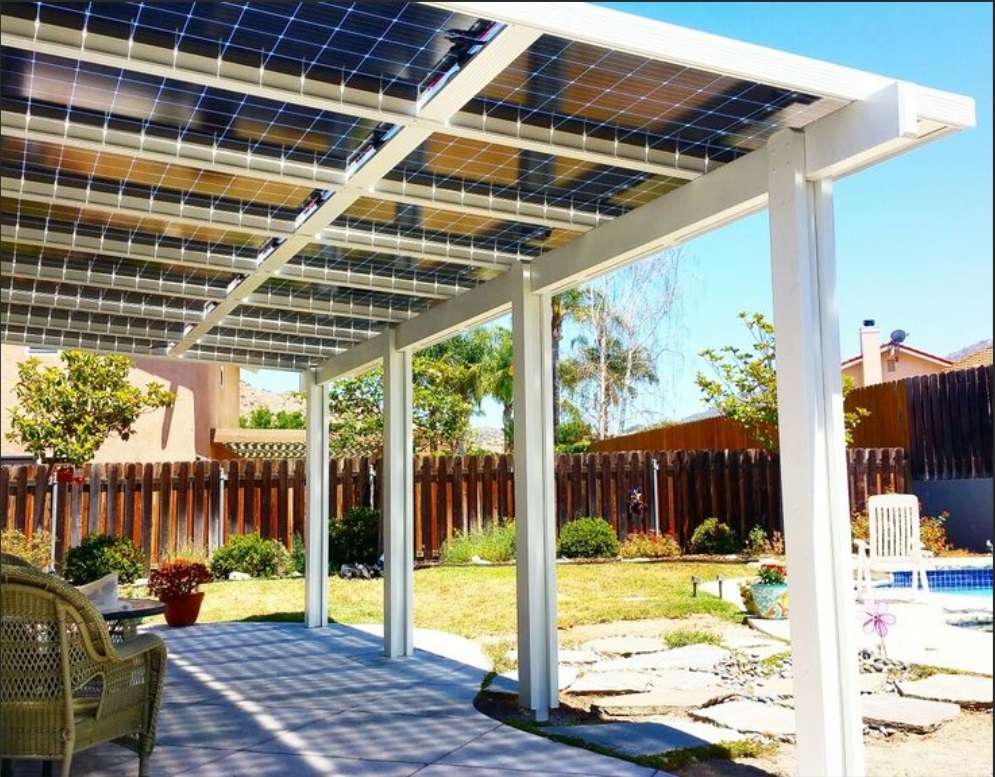
The objective here is that the solar if on fire cannot fall on other peoples property. the other option is to mount panels for covered walk ways, shed or outbuilding roofs or the solarpergola. none of these being trackers, but you may offer Tilt solutions.


In some respects, depending on the ascetics, you may wish to consider wall mounting solar panels. this can be carried out in discrete locations if they are available, however they look more of a disaster if they are not matching and uniform.
Split parallels. with automation.
Split parallel solar arrays are like for like solar arrays ( voltage) that come together positive to positive and negative to negative. if you have one 350v 8.5 amp array when combined in parallel they would be 350v and 17amps peak. this can be achieved by using 3 isolator switches all rated above 17 amps ( 30+ recommended) most of our installations come with a multi IO isolator so you can have up to 3 arrays on one switch. most are 2. (please check).
This approach required knowledge of the array size and the inverter or charge controller capacity to handle the higher currents. I would tend to NOT recommend the manual approach, but the automated.
In winter the sun is less powerful and the likelihood of peak performance is low. therefore it is common to see arrays below 50% of there current capacity, therefore adding more would normally be within specifications of the inverters ISC rating. ( short circuit current) or maximum DC input current.
Having a automatic switch, means that the system is protected from someone who forgets to switch over when they come to come into spring and those freak days of sun..
Questions in the comments as there are going to be many…

No responses yet