You’re considering a DIY solar kit with three 500W bifacial solar panels, aiming for a 1.5kW array that could, with optimal conditions, potentially deliver around 600W per panel. This brings up a common question for many venturing into the world of bifacial solar: How exactly are these panels rated, and what does that “extra” power really mean in the real world?
Let’s clear up the confusion and illuminate the true power of bifacial technology.
Rating Bifacial Panels: One Side or Two?
The good news is, bifacial solar panels are rated in much the same way as their single-sided (monofacial) counterparts. When you see a 500W bifacial panel, that 500W rating refers to its maximum power output from its front side under Standard Test Conditions (STC).
STC is a laboratory benchmark defined by:
- Irradiance: 1000 W/m² (the amount of sunlight hitting the front surface).
- Cell Temperature: 25°C.
- Air Mass: AM 1.5 (a standard atmospheric condition).
Crucially, STC does NOT account for any light hitting the rear side of the panel. This is a common point of misunderstanding. The 500W you see on the datasheet is a baseline for front-side performance.
The Magic of the “Bifacial Gain”
The real difference for bifacial panels lies in their bifacial performance, which is often detailed on the datasheet or in accompanying literature. This is where you’ll find figures like “20% rear peak” or a “bifaciality factor.”
It’s vital to understand that this does not mean there are two separate layers of PV cells within the panel. Instead, a bifacial panel uses a single layer of specially designed solar cells that are capable of converting light into electricity from both their front and rear surfaces. The reason you see glass on both sides is to allow light to pass through to the back of these cells, rather than being blocked by an opaque backsheet found on traditional panels.
When the rear of the panel receives light (primarily reflected from the surface below), it generates additional current within those same cells. This added current, combined with a slight increase in voltage, boosts the overall power output of the panel beyond its front-side STC rating. This “extra” power is known as bifacial gain.
For your 500W panels with a 20% rear peak, this means that in optimal real-world conditions, you could see an additional 100W (20% of 500W), bringing the effective peak power per panel to 600W. So, your 1.5kW array has the potential to become a 1.8kW powerhouse under ideal circumstances!
Real-World Functionality: Maximising Your Gain
The actual bifacial gain you achieve in your DIY array will depend on several key factors:
- Albedo (Surface Reflectivity): This is perhaps the most significant factor. Albedo refers to how much light a surface reflects.
- High Albedo: Light-coloured surfaces like white gravel, a white-painted roof, or even fresh snow can have a high albedo, reflecting a significant amount of sunlight onto the rear of your panels, maximizing gain.
- Low Albedo: Dark surfaces like black asphalt or traditional dark roof tiles will absorb most light, offering minimal bifacial gain.
- Natural Ground: Grass or bare soil offers moderate reflectivity.
- Mounting Height: The higher your panels are off the ground or roof surface, the more reflected light can reach their rear side. This is why ground-mounted bifacial arrays often perform exceptionally well, as they can be elevated to optimize light capture from the ground.
- Tilt Angle and Spacing: The angle at which your panels are tilted and the spacing between them (if in multiple rows) also influence how much light reaches the rear. Proper design minimizes self-shading and maximizes reflected light capture.
Installation Considerations for Your Kit:
Your DIY kit offers versatile installation options:
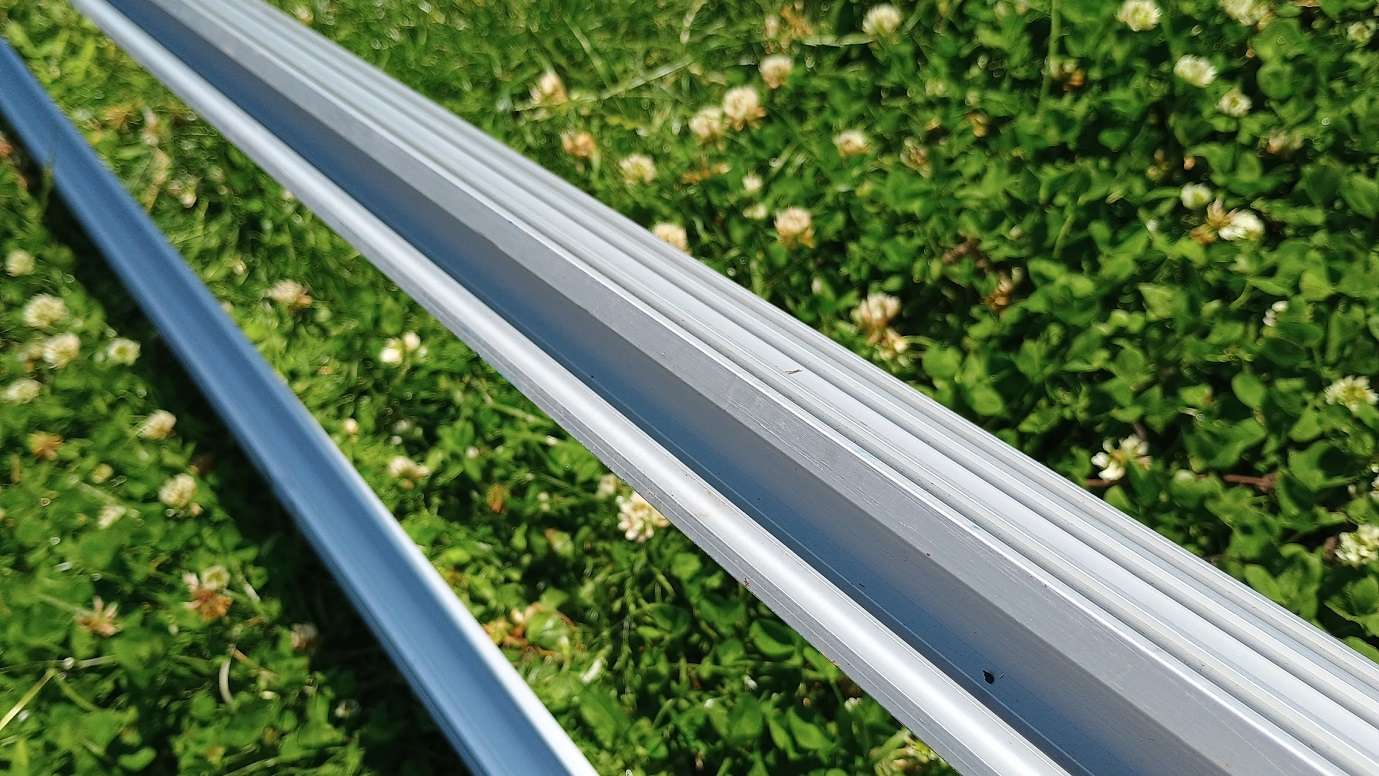
- Panel Dimensions: With three panels in portrait, your array will have a width of approximately 3.4 meters and a panel height of 1.9 meters. The 3.6-meter rail length allows for proper spacing and mounting.
- Flat Roof Installation:
- Mini Rails: These are suitable for flat roofs, providing a secure mount.
- Hooks for Height: Using hooks (even on a flat roof, perhaps mounted to timbers or a custom frame) will add height to the installation. This increased height is crucial for improving the light reaching the rear of the panel, enhancing your bifacial gain. Mounting directly on timbers or another elevated frame using mini rails could achieve a similar effect.
- Tiled Roof Installation:
- The kit conveniently includes roof hooks, making it ready for direct installation on a tiled house roof. While a tiled roof typically has a lower albedo than a specially prepared white surface, the bifacial design will still capture diffuse light that might otherwise be lost, offering a modest but valuable gain over monofacial panels.
- Even on a tiled roof, the gap created by the hooks and mounting rails allows for some light reflection from the roof surface itself, as well as diffuse light from the ambient environment, contributing to the rear-side performance.
- Ground Mounted Frames: For ground-mounted setups, the kit is equally versatile. Utilizing timbers or a purpose-built frame to elevate the panels and ensure sufficient spacing from the ground will significantly boost the bifacial performance, especially if you can prepare the ground surface with a high-albedo material like white gravel.
In conclusion, when evaluating bifacial solar panels, remember that their primary rating is for front-side performance under STC. However, their unique design allows them to harness additional energy from their rear, leading to a significant “bifacial gain” in real-world conditions. By understanding the factors that influence this gain – particularly surface reflectivity and mounting height – you can optimize your small bifacial array to truly unlock its dual-sided power potential.
Where to buy your solar panel kit?
RenewSolar are testing the kit in the real world as they would normally do when check out any items and services that are offered. Rory Say’s “we always test and check how the system performs as well as how they work with problems typically encountered by customers and clients. that way we know the answer and solution. We don’t just follow the crowd and rely on theory, but hands on and with facts we can see for ourselves.“
We are hoping to bring the kits to the shop solar kits section in the next few weeks. We are trialing a new mounting system and want to see how this performs, its light and has a larger span tolerance, which is an important factor when installing solar, for DIY this means we are checking the loading and mounts (hooks), this can change the price and installation tasks when it comes to installing if we need to change the kit for any reason.
How much?
We are currently looking at prices around £315.00 but we will have mini rails and the hooks, but I believe we are going to be recommending hooks for the height, but we also need to look at sealing for many of the installations Typically EDM can be used, which the mini rail kits come with, or we will include industrial sealant like PU21 which is used to install car windows.
No responses yet