Solar charge controllers are the back bone to many peoples source of power but how they work may be a mystery to some, so here is how a charge controller works, now before we start, there are three types or purposes of charge controllers.
Standard Charge controller.
A charge controller will take the DC power from the solar panels and convert the power to the battery voltage needed to charge the battery, in effect it is just a DC to DC converter, which will use PWM or BUCK to lower the voltage.
The charge controller monitors the voltage of the battery, to know its state of charge (SOC). it will then provide power between the settings that it has.
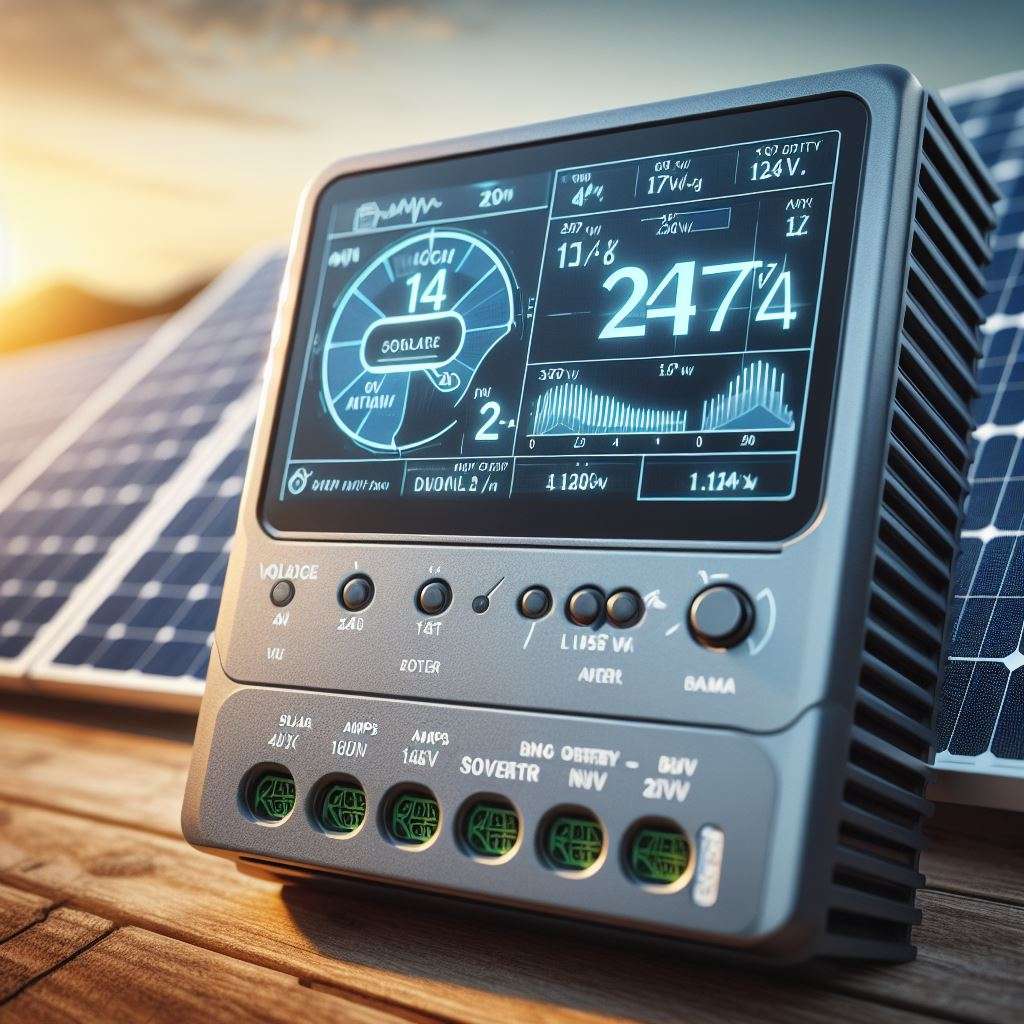
Typically a charge controller will tell you its voltage input and its current output. the current output is important, as this will dictate how fast you can charge and the solar it can handle.

As you can see here, we can have 100v of solar input and it will output 30 amps.
We multiply the output current with the battery voltage.
For example a 24v battery charging at 30 amps is 750w
So we know that we need a little more than 750w in solar panels.
With MPPTs we “buck” voltage to the lower voltage which boosts the current, I explained this in some more detail in Power factoring. As you will know the 100v is the limit and we do not go over the voltage limit. but you wont find that you can get that close, you would have 74v typically from two solar panels in series. We use the VOC ( voltage open circuit) from the panels data sheet/sticker to give us that information.
With the factoring, 74/24 =3.08 and we could say that we have 13 amp solar panels which would give us a 40amp output, so we would lose 10 amps of charging capacity at peak power.
While this video shows the output, the same principle is used with the input. Solar panels have a MPP ( maximum power point) this means that there is a relationship between the voltage and the current. You take as much current Before the voltage drops is the easy way to explain.
As you watched in the video, the inductor keeps the current stable and the voltage will vary, but adjusting the pwm signal we can monitor the voltage in for the drop in voltage while taking the maximum current. The resulting power in is then drawn from the capacitors to make the output power. Here is our video of a 1500w controller circuit
You can find out more here : Solar Charge Controller Project — RenewSolar
Charge controller in a inverter ( AIO)
Built in solar charge controllers, work a little differently that the standard controllers in that they produce a fixed output for what is called the BUS voltage. This voltage will work at a few different levels due to the topology of the inverter that you are using.
Inverters have either a pre or post transformer that maybe DC or AC which will “set” the voltage for the H bridge.
The H bridge is what is used to make AC output.
The bridge gates are usually in pairs, meaning that you get more than one “gate” shown as switches in the above video holder image.
if we have a 65v source, we have double this voltage range in the AC output. So you would have 130volts AC.
This may be true for 240v as it will be the output transformer that boosts or reduces the voltage. It is quite typical that bus voltages would be around the 370 volt range in DC. Therefore the PV input voltage may need to be bucked (lowered) or boosted (raised) to meet the system voltage.
There is a trade off with all the voltage changes and this means that ohms law applies. For higher voltages, we get a lower current, for lower voltages we get a higher current. but we also get losses as the work wastes power which usually becomes heat.
On one of my inverters, it has a MPPT rage of 65 – 450 it also has a bus of 375 volts, if you understood the information here, then you should be able to tell me what is happening, the solar input voltage is 75 and the current 8 amps. Write what you though happens at each stage in the comments below. MPPV is 60. You should indicate both current and voltages as a perfect circuit.
No responses yet