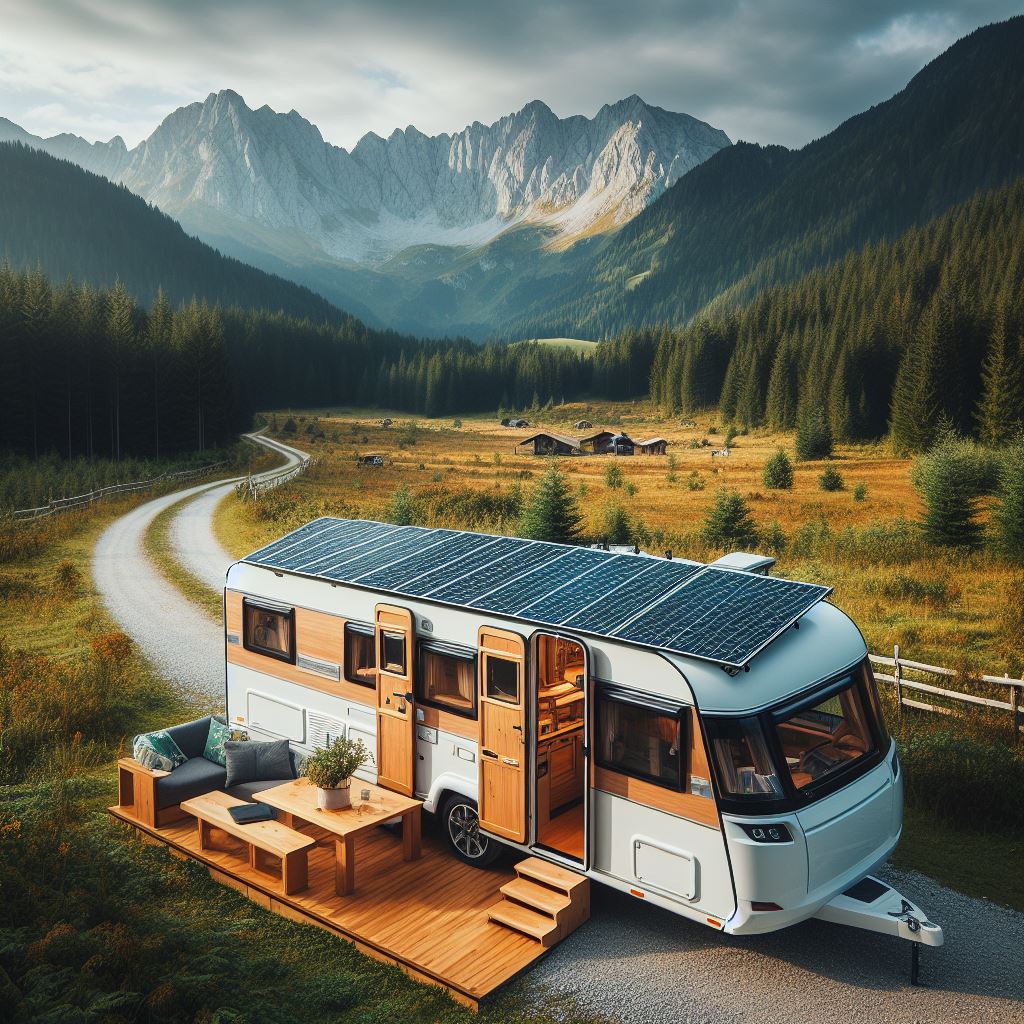
Shore power isnt alway there, so in this post we look at mobile solar installations in caravans.
When it comes to attaching items to the walls or roof of your caravan, there are a few considerations to keep in mind. Here are some tips and advice:
- Wall Material:
- The plywood used to line caravan walls is typically only 3mm thick. Keep this in mind when choosing how to attach things.
- Some caravans have stringers in specific places (such as where cupboards are fixed or around window frames), but these are few and far between.
- Attachment Methods:
- Adhesive: The easiest and safest way to fix lightweight items to the caravan wall is to use a heavy-duty adhesive. Make sure to clean the wall surface thoroughly before attaching anything.
- Self-Tapping Screws: If you need to attach mid weighted objects, you can use short self-tapping screws. However, be cautious and use screws that are not too long to avoid damaging the thin plywood.
- Clamp Fixings: For the front locker (where you usually have aluminum walling), consider fitting a board flat against the wall and then screwing into that for clamp fixings.
- Considerations:
- Be mindful of the weight and what you’re attaching. Caravan walls are not designed for heavy loads.
- If you plan to sell the caravan later, avoid excessive modifications, as potential buyers may prefer an unaltered interior.

Attaching solar panels to your caravan is a great way to harness renewable energy while on the move. Here are some steps to guide you through the process:
- Clean the Roof:
- Start by cleaning the roof of your caravan. Use soap and water to remove any oils or persistent dirt. A clean surface ensures proper bonding when you attach the panels.
- Choose the Right Adhesive:
- Lay the solar panels down on a flat surface.
- Apply a generous amount of adhesive to the back of the panels.
- Place the panels where you want them on the roof, being mindful of their orientation.
- Mounting the Panels:
- There are different methods for mounting solar panels:
- Rigid Panels: If you’re using rigid panels, follow these steps:
- Drill holes in the roof to allow for cables that connect to the battery via a control unit.
- Pass the cable through the roof and secure it with waterproof connections.
- Attach the feet to the solar panel using Torx-headed drilling screws.
- Secure any loose cable under the panel with provided clips.
- Apply adhesive to the panel’s feet and place it into position, pressing gently on the corners.
- Flexible Panels: For flexible panels, consider the following:
- Wash the top of the caravan roof with soap and water, then dry it.
- Clean the roof with rubbing alcohol to remove any residue.
- Clean the back of the solar panels with alcohol.
- Cut a piece of polycarbonate (a high-density plastic) panel to fit and protect the solar panels, insulating them from overheating
- Rigid Panels: If you’re using rigid panels, follow these steps:
- There are different methods for mounting solar panels:
If you are using “A frames”, you can benefit from tilting the panels towards the sun, This can be a issue when parking as you would want to position the panels to face the sun and you would have to take care. However the A frame allows you to position the panels and have more power than panels that are flat on your roof.
Caravan Electrical Systems: 12V vs. 24V
- 12V System:
- Most caravans operate on a 12-volt direct current (DC) system.
- Appliances like lights, water pumps, and fans run on this 12V system.
- The battery provides power for 12V devices.
- An inverter is essential to convert 12V DC power into 240V AC power for AC appliances, such as microwaves and hair driers.
- 24V System:
- Some trucks or buses use a 24V system.
- For most caravans, a 12V system is more common.
- If you want to run larger inverters (which require 24V) for increased power, you can implement a 24V system. You can also increase the solar charge capability of a solar installation.
Wiring and Cables:
- 12V Wiring:
- Unlike 240V systems, working on 12V cabling is legal and safe.
- Consider cable sizing, voltage drop, battery charging, and your connections.
- Use 3-core, 2.5mm² flexible PVC/PVC cables for connecting to the socket outlet.
- The cable should be colored orange for visibility in grass if they are laying cables.
- Grounding:
- Instead of running appliances individually to the ground point, use a negative bus bar as a common ground for all components, this can include the chassis.
- Connect all grounds to the negative bus bar, which then connects to the ground point.
- Do not run AC (green/yellow) ground to your negative busbar.
Switching from 12V to 24V: Considerations and Problems:
- Complexity:
- A 24V system is generally more complex to build than a 12V system.
- It involves additional operating voltages and voltage conversions.
- You’ll need a 24V battery bank, 12V devices, and 240V devices.
- Hardware Needed:
- To switch from 12V to 24V, consider the following:
- 24V battery bank: Replace or modify your existing battery setup.
- 12V->24V DC-DC charger: Install this to charge your 24V battery from the 12V system.
- Ensure all appliances and devices are compatible with 24V.
- To switch from 12V to 24V, consider the following:
- Potential Problems:
- Compatibility: Existing 12V appliances may not work directly with 24V. Therefore you will need Voltage converters, you can have a single one or more to provide 12V from your 24V system.
- Cost: Upgrading to 24V can be expensive due to the need for new components.
- Space: adding an additional battery, converters and inverters will take up space.
Related posts:
Did you follow are Crypto?
At the start of the year we posted abou...
Export payments (MSC, SEG and SETO)
The Government Club ( mates) dreamed up...
Solar performance 2025 so far - how do you stack up?
RenewSolar review of solar performance f...
Summer Sol 2025 - 21st june
21 Jun03:42 BST22 Sep19:19 BST
Solst...
Unleash Sun Power and Slash Your Electricity Bills with RenewSolar's Affordable Solar Panels!
Ready to ditch high electricity bills a...
Build your own battery (DIY battery kit)
There is a lot of myths in respect of b...
Off Grid Solar kit planning
Building solar power for off grid appli...
Looking after Nans - The Energy gift
Without Winter Fuel Payments a lot of n...
No responses yet