Before you get too excited this is the base kit and not a complete kit. but I have included the prices of everything else, and its not too much….
Here we have a Grid Tied Solar Kit and it is perhaps the most I would consider having as a Grid tied system. the reason for this limit where more should be better, is that this is grid tied and you will see a lot of power being exported much of the time. With daily production of around 11kWh this could provide some homes there total 24 hour power demand. – If only you could store the power for that night time use. And the estimated yearly saving on your electric bill could be around £772.00.
You only save what you can use, therefore actual savings will vary. Now that we have the humbug out of the way, we can move on to the plus point and what extras need to be paid for.
Mount for the solar panels.
We do not often include a mounting system with the kits as there are many options, you may want some timber frame in the garden, leaning against a building. Z brackets (about £20 PP) You may want rails and clamps (about £95) Or you may want hangers (at around £3.00 each) Or hooks which are around £7. You may want nothing at all….
Cable.
Where you mount your inverter (string inverter) can be inside or outside – they look nice enough for the inside. Then you will need two cables, One AC cable to connect from the house electrical system to the inverter, and the other cable is a DC PV cable, which runs from the solar panels to the inverter. There is a set on MC4 connectors in the box with the inverter, – No crimping tool though!.
Buy PV cable £1 per meter.
Buy AC cable £1.85 per meter. Armored £2.65 per meter.
Safety and protection
RCBO-Bi-Directional will be needed to make the connection – £18 however the price can vary depending on the consumer unit – ask us.
AC Isolator is included as its required for the installation.
The inverter has a DC isolator built in so there is no need to add one.
Installation.
Legally you cannot install a new circuit, but you could change a older one that’s not used. but you must be competent and know what your doing and we see and hear about a lot of “I can do that” when it is I cant in reality (even when instructions is give by speech, a video and in a written manual with pictures).
You can search our site for BS7671 for most other types of connection, but in some cases you may want to call someone in to wire in the AC isolator to the upstream supply. it can be a fairly cheap and quick installation depending on the cable run, which in some cases could be costly SWA cable, but you just need 1.5mm ( however wire with 2.5mm as you will want to upgrade at some point). They may wish to install a small consumer unit which should cost less than £100.00
You may need some wall seals for the cables if they are going through the walls. B&Q about £3.70..
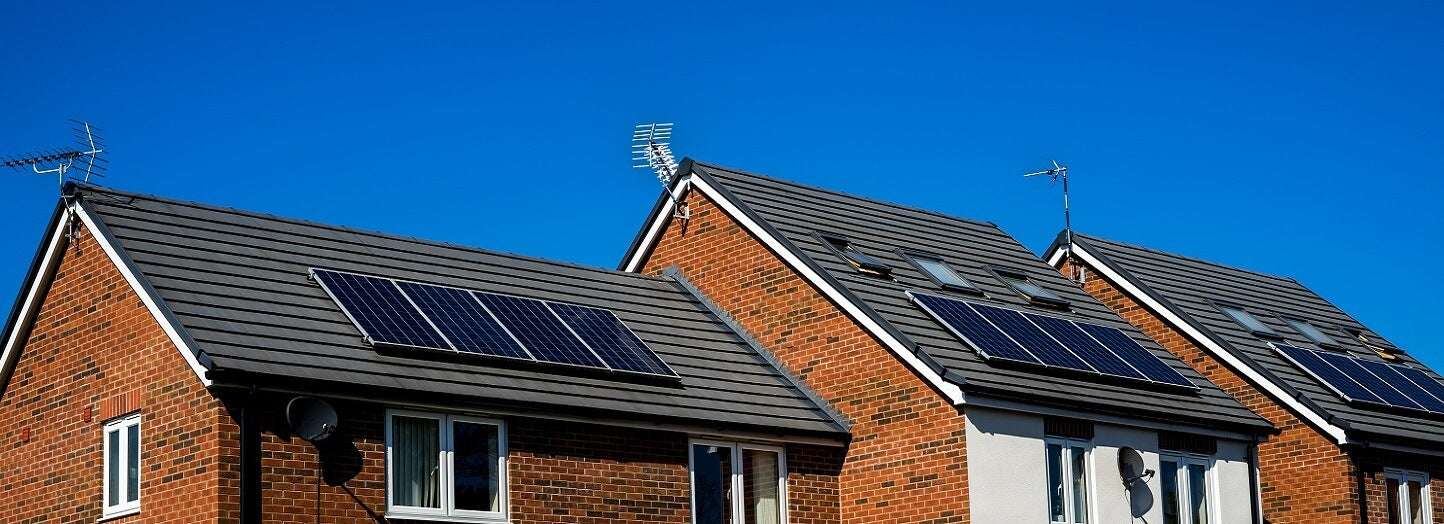
Mounting the panels.
The inverter is a string inverter which means that you connect one panel to the other to get high voltage and then the ends are ran back to the inverter. ( with the DC isolator OFF).
We have wrote a number of guides on how to position the solar panels. If you are out all day, then shift the panels to the west rather than south which will give you a peak at mid day. 16 degrees per hour. Remember that in winter the sun falls in the west, so do not go too far or you’ll see no winter solar. See our post on Solar panel angles
Wiring the inverter.
The inverter can be wired in a number of ways, the power is low enough for effectively a plug in system as long as its on the main ring and has the protection before it connects. It can be wired into the consumer unit in the none RCD side as of course we all should be aware of the issues with Older RCD breaking after tripping in reverse. (Hence the need for that Bidirectional RCBO).
The inverter is silent, there are labels on the end of the plug to wire the AC in, ensure the exposed wires and not too long as they are close together inside.
As the unit is small and “clean looking” it can be mounted inside your home on the wall and its not going to look out of place in any modern home. this will mean running DC cables through the wall. You should leave Drip loops and of course not drill though water or other services in the wall. Either way inside you drill for DC, outside you drill for AC.
Your AC cable should be the longest and try to keep the DC short. The DC cable run can be 40 meters, That’s 20 meters away as a cable run is there and back.
After your all installed, then you can fill out your G98 and send this to your DNO supply for your area.
Last thing, if you put the inverter in the house, place a mat underneath as its likely that you will go and tap the screen to see what is happening and how much your making, you may need a mat under the smart meter so you can watch it say zero. * this is humor just incase you think this is a requirement.
RenewSolar installation.
installation costs can vary depending on your install, we cover a 1 hour area from our location.
It can take a few hours but we try to make it happen quick and easy and painless. About 1.5 days is an average installation. quick installation can be around 3 hours. or a 0.5 day.
Solar installation on to a house roof is one of the more costly parts. – pergolas can work out more more cost effective and usable if you have the space and wish to have some shelter. you can mount in most places, or we can leave this up to you to do.

Disclaimer.
Messing about with AC mains power is dangerous. DC power is more dangerous and with solar panels its always live. if you don’t know what you are doing then don’t touch it. it will end your life, burn you, and can harm you and others. So don’t bite off more than you can chew. The installation are fairly simple and so is getting into trouble.
” If in doubt, call the professional out”
Order your kit today from the Shop.
If you want a complete kit contact us via Email.
One response
[…] Sub £500 Solar kit […]